Reset Mercury Mariner 2009 SYNC Supplement
[x] Cancel search | Manufacturer: MERCURY, Model Year: 2009, Model line: Mariner, Model: Mercury Mariner 2009Pages: 90, PDF Size: 3.86 MB
Page 10 of 90
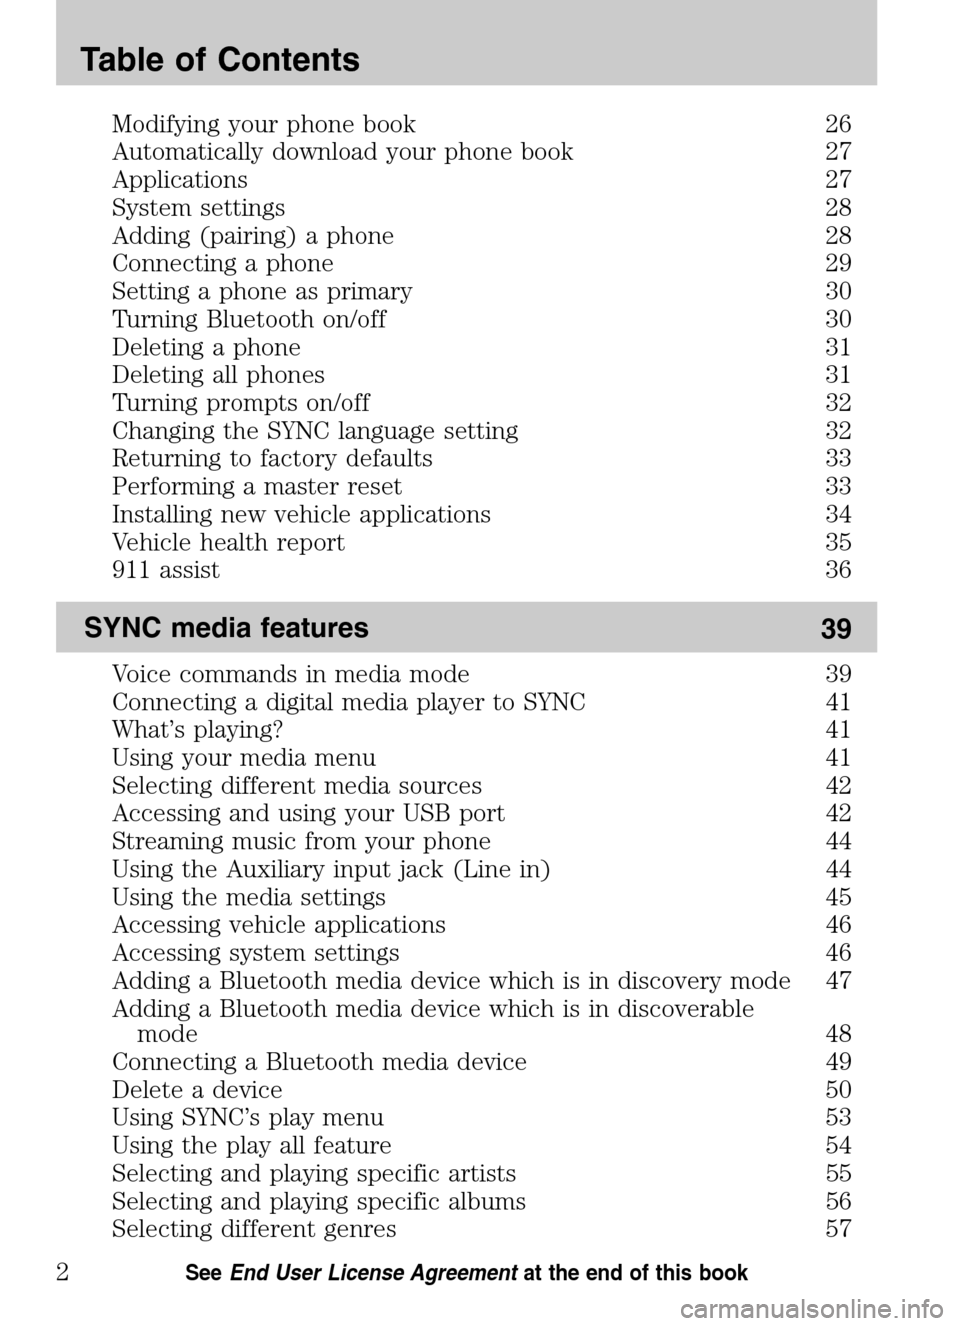
Modifying your phone book 26
Automatically download your phone book 27
Applications 27
System settings 28
Adding (pairing) a phone 28
Connecting a phone 29
Setting a phone as primary 30
Turning Bluetooth on/off 30
Deleting a phone 31
Deleting all phones 31
Turning prompts on/off 32
Changing the SYNC language setting 32
Returning to factory defaults 33
Performing a master reset 33
Installing new vehicle applications 34
Vehicle health report 35
911 assist 36
SYNC media features 39
Voice commands in media mode 39
Connecting a digital media player to SYNC 41
What’s playing? 41
Using your media menu 41
Selecting different media sources 42
Accessing and using your USB port 42
Streaming music from your phone 44
Using the Auxiliary input jack (Line in) 44
Using the media settings 45
Accessing vehicle applications 46
Accessing system settings 46
Adding a Bluetooth media device which is in discovery mode 47
Adding a Bluetooth media device which is in discoverable
mode 48
Connecting a Bluetooth media device 49
Delete a device 50
Using SYNC’s play menu 53
Using the play all feature 54
Selecting and playing specific artists 55
Selecting and playing specific albums 56
Selecting different genres 57
Table of Contents
2See End User License Agreement at the end of this book
2009 SYNC/MGM(mgm)
Supplement
USA (fus)
Page 22 of 90
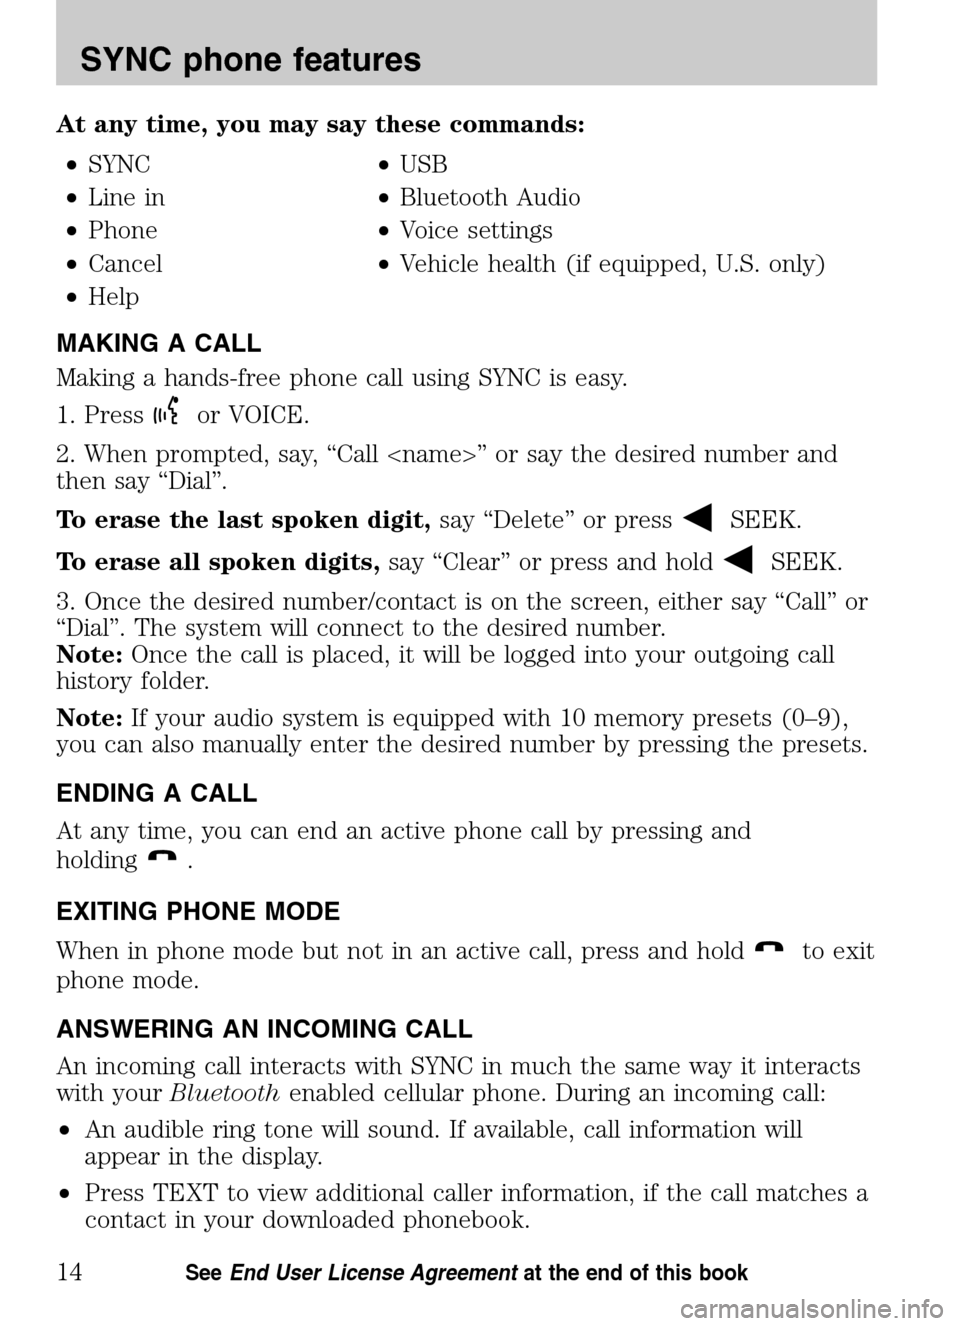
At any time, you may say these commands: • SYNC •USB
• Line in •Bluetooth Audio
• Phone •Voice settings
• Cancel •Vehicle health (if equipped, U.S. only)
• Help
MAKING A CALL
Making a hands-free phone call using SYNC is easy.
1. Press
or VOICE.
2. When prompted, say, “Call
then say “Dial”.
To erase the last spoken digit, say “Delete” or press
SEEK.
To erase all spoken digits, say “Clear” or press and hold
SEEK.
3. Once the desired number/contact is on the screen, either say “Call” or
“Dial”. The system will connect to the desired number.
Note: Once the call is placed, it will be logged into your outgoing call
history folder.
Note: If your audio system is equipped with 10 memory presets (0–9),
you can also manually enter the desired number by pressing the presets.
ENDING A CALL
At any time, you can end an active phone call by pressing and
holding
.
EXITING PHONE MODE
When in phone mode but not in an active call, press and hold
to exit
phone mode.
ANSWERING AN INCOMING CALL
An incoming call interacts with SYNC in much the same way it interacts
with your Bluetooth enabled cellular phone. During an incoming call:
• An audible ring tone will sound. If available, call information will
appear in the display.
• Press TEXT to view additional caller information, if the call matches a
contact in your downloaded phonebook.
2009 SYNC/MGM (mgm)
Supplement
USA (fus)
SYNC phone features
14SeeEnd User License Agreement at the end of this book
Page 24 of 90
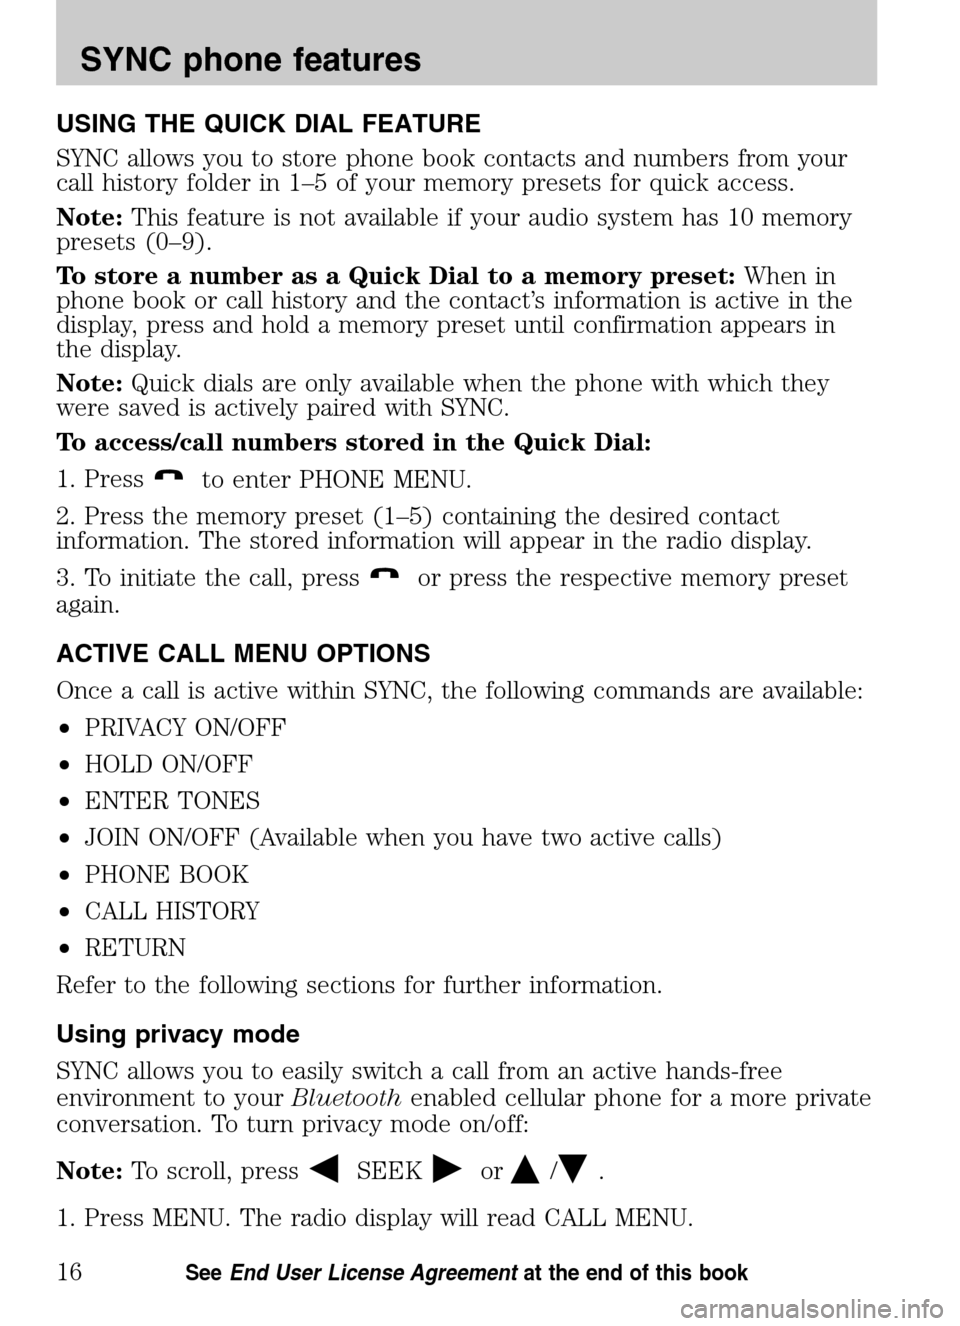
USING THE QUICK DIAL FEATURE
SYNC allows you to store phone book contacts and numbers from your
call history folder in 1–5 of your memory presets for quick access.
Note: This feature is not available if your audio system has 10 memory
presets (0–9).
To store a number as a Quick Dial to a memory preset: When in
phone book or call history and the contact’s information is active in the
display, press and hold a memory preset until confirmation appears in
the display.
Note: Quick dials are only available when the phone with which they
were saved is actively paired with SYNC.
To access/call numbers stored in the Quick Dial:
1. Press
to enter PHONE MENU.
2. Press the memory preset (1–5) containing the desired contact
information. The stored information will appear in the radio display.
3. To initiate the call, press
or press the respective memory preset
again.
ACTIVE CALL MENU OPTIONS
Once a call is active within SYNC, the following commands are available:
• PRIVACY ON/OFF
• HOLD ON/OFF
• ENTER TONES
• JOIN ON/OFF (Available when you have two active calls)
• PHONE BOOK
• CALL HISTORY
• RETURN
Refer to the following sections for further information.
Using privacy mode
SYNC allows you to easily switch a call from an active hands-free
environment to your Bluetoothenabled cellular phone for a more private
conversation. To turn privacy mode on/off:
Note: To scroll, press
SEEKor/.
1. Press MENU. The radio display will read CALL MENU.
2009 SYNC/MGM (mgm)
Supplement
USA (fus)
SYNC phone features
16SeeEnd User License Agreement at the end of this book
Page 36 of 90
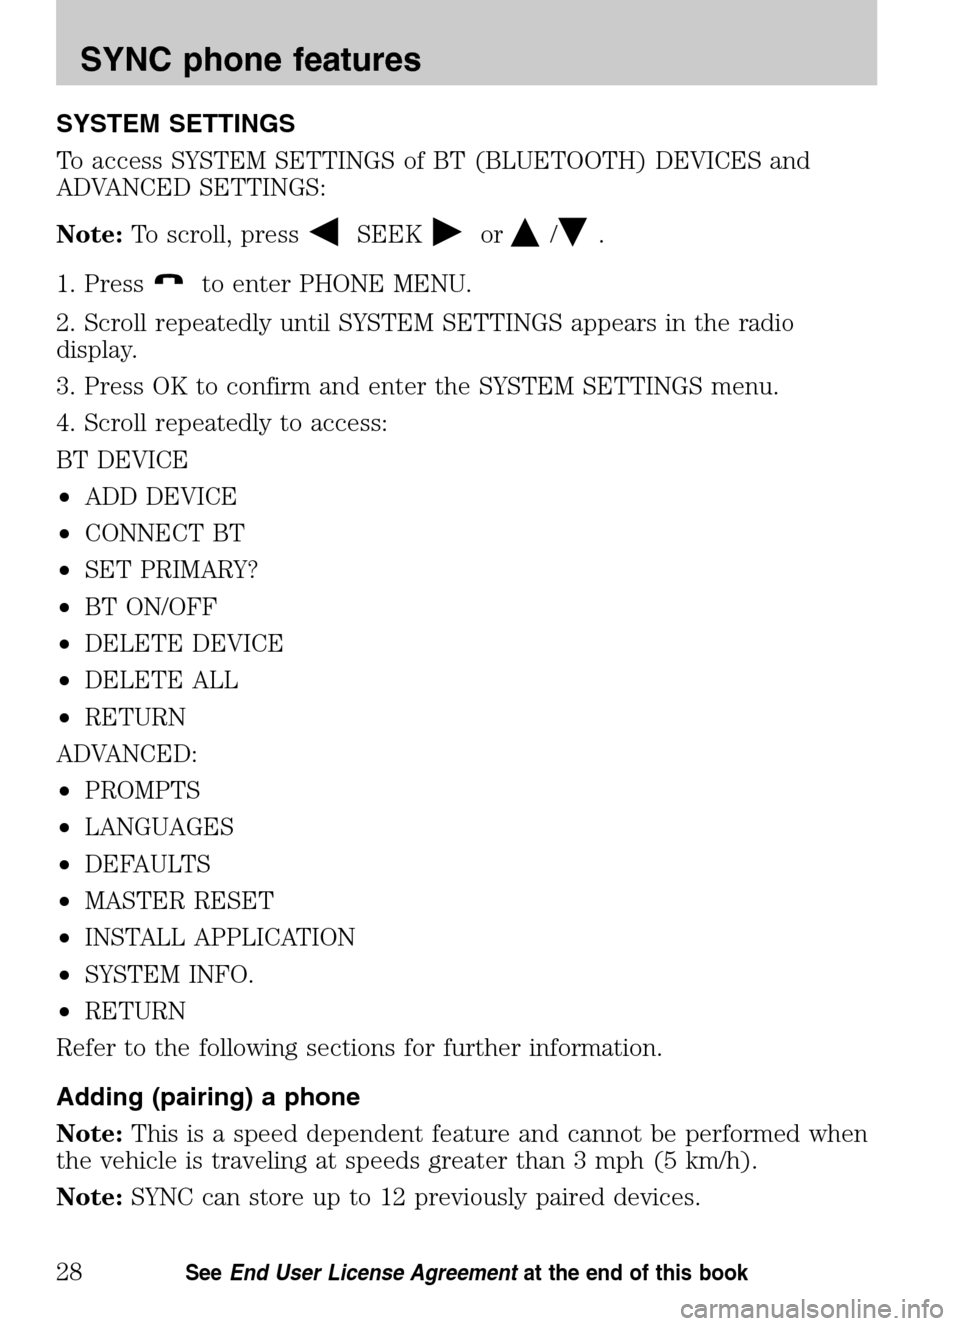
SYSTEM SETTINGS
To access SYSTEM SETTINGS of BT (BLUETOOTH) DEVICES and
ADVANCED SETTINGS:
Note: To scroll, press
SEEKor/.
1. Press
to enter PHONE MENU.
2. Scroll repeatedly until SYSTEM SETTINGS appears in the radio
display.
3. Press OK to confirm and enter the SYSTEM SETTINGS menu.
4. Scroll repeatedly to access:
BT DEVICE
• ADD DEVICE
• CONNECT BT
• SET PRIMARY?
• BT ON/OFF
• DELETE DEVICE
• DELETE ALL
• RETURN
ADVANCED:
• PROMPTS
• LANGUAGES
• DEFAULTS
• MASTER RESET
• INSTALL APPLICATION
• SYSTEM INFO.
• RETURN
Refer to the following sections for further information.
Adding (pairing) a phone
Note: This is a speed dependent feature and cannot be performed when
the vehicle is traveling at speeds greater than 3 mph (5 km/h).
Note: SYNC can store up to 12 previously paired devices.
2009 SYNC/MGM (mgm)
Supplement
USA (fus)
SYNC phone features
28SeeEnd User License Agreement at the end of this book
Page 41 of 90
5. Press OK to confirm and enter the ADVANCED menu.
6. Scroll repeatedly until LANGUAGES appears in the radio display.
7. Press OK to enter the LANGUAGES menu.
8. Scroll repeatedly to cycle through ENGLISH, FRANCAIS and
ESPANOL.
9. Press OK when the desired selection appears in the radio display. If
you have changed the language setting, the radio display will read
UPDATING. Once the change is complete, SYNC will confirm the change
audibly and in the radio display. SYNC will then take you back to the
LANGUAGES menu.
Returning to the factory defaults
SYNC allows you to return to its factory defaults settings. This selection
will not erase your downloaded phone book, call history, text messages,
etc. If you wish to erase all information, refer to Performing a master
reset.
Note: To scroll, press
SEEKor/.
1. Press
to enter PHONE MENU.
2. Scroll repeatedly until SYSTEM SETTINGS appears in the radio
display.
3. Press OK to confirm and enter the SYSTEM SETTINGS menu.
4. Scroll repeatedly until ADVANCED appears in the radio display.
5. Press OK to confirm and enter the ADVANCED menu.
6. Scroll repeatedly until DEFAULTS appears in the radio display.
7. Press OK. The display will read RESTORE DEFAULTS?
8. Press OK to confirm. The display will read DEFAULTS SET. SYNC will
take you back to the DEFAULTS menu.
Performing a master reset
A master reset allows you to completely erase all information stored in
SYNC (all phone book, call history and text message information as well
as all previously paired phones) and return to the factory default
settings. To perform a master reset:
Note: To scroll, press
SEEKor/.
1. Press
to enter the PHONE MENU.
2009 SYNC/MGM (mgm)
Supplement
USA (fus)
SYNC phone features
33SeeEnd User License Agreement at the end of this book
Page 42 of 90
2. Scroll repeatedly until SYSTEM SETTINGS appears in the radio
display.
3. Press OK to enter the SYSTEM SETTINGS menu.
4. Scroll repeatedly until ADVANCED appears in the radio display. Press
OK.
5. Scroll repeatedly until MASTER RESET appears in the radio display
6. Press OK. SYNC will ask you to confirm the reset.
7. Press OK to confirm. The radio display will read RESET DONE. SYNC
will take you back to the ADVANCED SETTINGS menu.
Note: Once a master reset has been completed, you must re-insert your
USB device to access its contents.
Installing new vehicle applications
You can download new software applications (if available) and then load
the desired applications onto SYNC through your USB port. Please refer
to www.SyncMyRide.com for further information.
System information
The system information feature allows you to access the AutoVersion
number as well as the FDN number. To access:
Note: To scroll, press
SEEKor/.
1. Press
to enter the PHONE MENU.
2. Scroll repeatedly until SYSTEM SETTINGS appears in the radio
display.
3. Press OK to enter the SYSTEM SETTINGS menu.
4. Scroll repeatedly until ADVANCED appears in the radio display. Press
OK.
5. Scroll repeatedly until SYSTEM INFO. appears in the radio display
6. Press OK.
7. Scroll repeatedly until the desired selection appears in the radio
display.
8. Press OK when the desired selection appears in the radio display.
2009 SYNC/MGM (mgm)
Supplement
USA (fus)
SYNC phone features
34SeeEnd User License Agreement at the end of this book
Page 55 of 90
•DELETE ALL
• RETURN
ADVANCED:
• PROMPTS
• LANGUAGES
• DEFAULTS
• MASTER RESET
• INSTALL APPLICATION
• RETURN
Refer to the following sections for further information.
Adding a Bluetooth media device which is in discovery mode
Note: This is a speed dependent feature. Your vehicle must be moving
less than 3 mph (5 km/h) to use this feature.
Note: If your phone supports streaming Bluetoothaudio and has already
been paired with SYNC as a phone, you do not have to go through the
pairing process again.
Note: To scroll, press
SEEKor/.
1. Press AUX repeatedly until SYNC appears.
2. Press MENU. MEDIA MENU will momentarily appear in the radio
display.
3. Press OK to access the PLAY MENU.
4. Scroll repeatedly until SYSTEM SETTINGS appears in the radio
display.
5. Press OK to confirm and enter the SYSTEM SETTINGS menu.
6. Scroll until BT DEVICE appears in the radio display. Press OK to
confirm and enter the BT DEVICE menu.
7. Scroll until ADD DEVICE appears in the radio display. Press OK to
confirm.
8. When FIND SYNC appears in the display, press OK. Follow the
instructions in your device’s user guide to put your phone into discovery
mode. A six digit PIN will appear in the radio display.
9. When prompted on your phone’s display, enter the six digit PIN in the
radio display.
2009 SYNC/MGM (mgm)
Supplement
USA (fus)
SYNC media features
47SeeEnd User License Agreement at the end of this book
Page 56 of 90
10. Once pairing is successful, the device name and then CONNECTING
and then CONNECTED will appear in the radio display.
You can now change SYNC sources to BT AUDIO and stream music from
your device.
Adding a Bluetooth media device which is in discoverable mode
Note: This is a speed dependent feature. Your vehicle must be moving
less than 3 mph (5 km/h) to use this feature.
Note: If your phone supports streaming Bluetoothaudio and has already
been paired with SYNC as a phone, you do not have to go through the
pairing process again.
Note: Use this process when your device generates the PIN instead of
SYNC.
Note: To scroll, press
SEEKor/.
1. Press AUX repeatedly until SYNC appears.
2. Press MENU. MEDIA MENU will momentarily appear in the radio
display followed by PLAY MENU.
3. Scroll repeatedly until SYSTEM SETTINGS appears in the radio
display.
4. Press OK to confirm and enter the SYSTEM SETTINGS menu.
5. Scroll until BT (BLUETOOTH) DEVICES appears in the display. Press
OK to confirm and enter the BT DEVICE menu.
6. Scroll until ADD DEVICE appears in the radio display. Press OK to
confirm.
7. When FIND SYNC appears in your radio display, scroll repeatedly until
FIND DEVICES appears. Press OK to confirm.
8. After the search for active BT DEVICE is complete, scroll to find the
desired device. Press OK to confirm.
9. Refer to your device’s user guide for instructions on how to put your
device into discoverable mode. When your media device gives you a PIN,
enter that PIN into SYNC using voice commands (or using the 0–9
memory presets on your audio system, if equipped), when prompted.
10. When you have entered your last digit via voice, say “Enter”.
11. When the process is complete, SYNC will display CONNECTED and
the name of the device will appear in the radio display.
You can now change SYNC sources to BT (BLUETOOTH) AUDIO and
stream music from your device.
2009 SYNC/MGM (mgm)
Supplement
USA (fus)
SYNC media features
48SeeEnd User License Agreement at the end of this book
Page 60 of 90
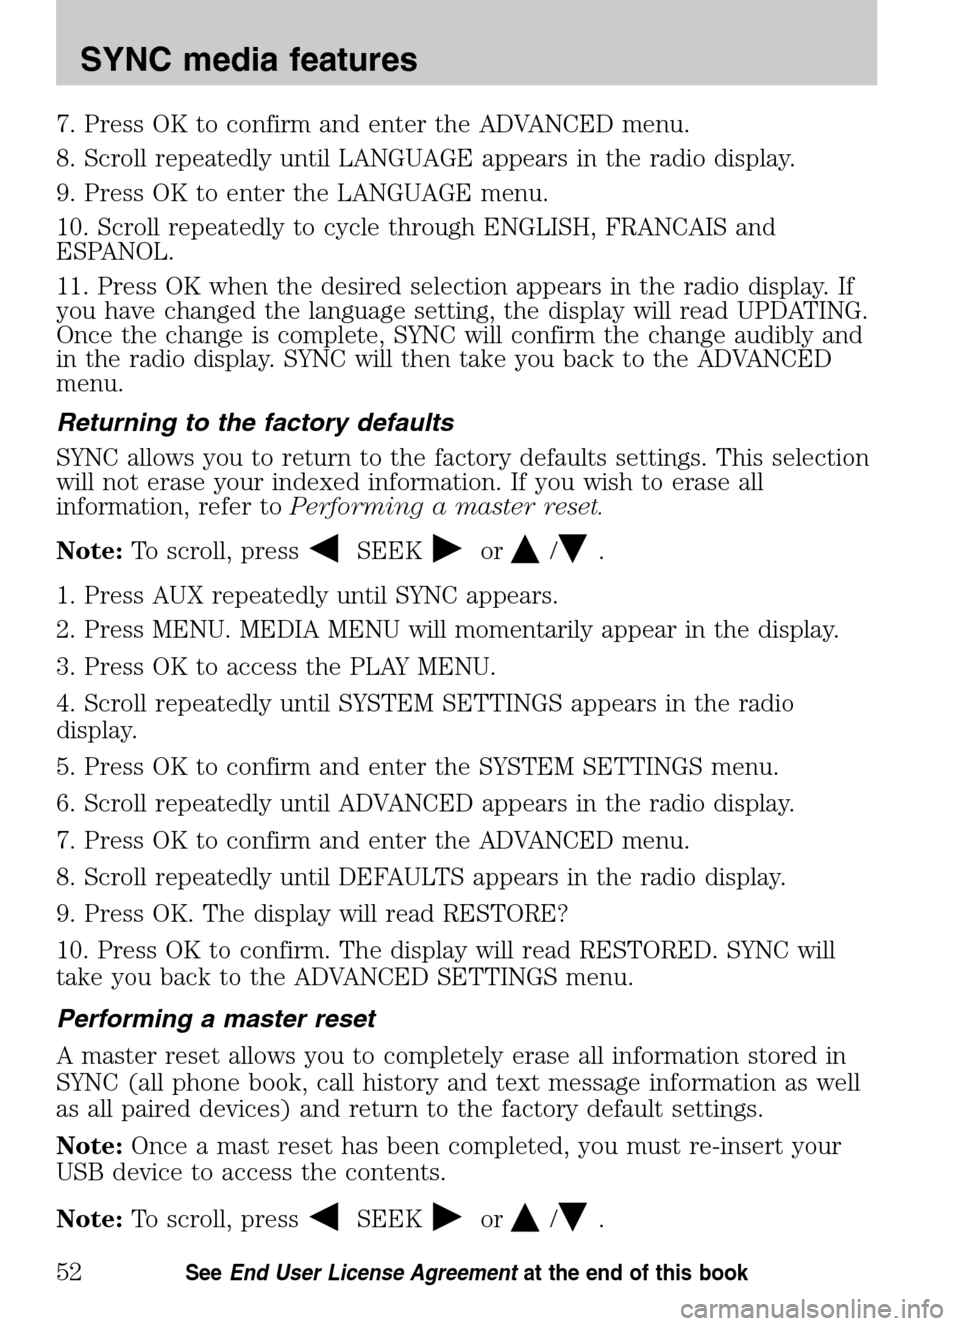
7. Press OK to confirm and enter the ADVANCED menu.
8. Scroll repeatedly until LANGUAGE appears in the radio display.
9. Press OK to enter the LANGUAGE menu.
10. Scroll repeatedly to cycle through ENGLISH, FRANCAIS and
ESPANOL.
11. Press OK when the desired selection appears in the radio display. If
you have changed the language setting, the display will read UPDATING.
Once the change is complete, SYNC will confirm the change audibly and
in the radio display. SYNC will then take you back to the ADVANCED
menu.
Returning to the factory defaults
SYNC allows you to return to the factory defaults settings. This selection
will not erase your indexed information. If you wish to erase all
information, refer to Performing a master reset.
Note: To scroll, press
SEEKor/.
1. Press AUX repeatedly until SYNC appears.
2. Press MENU. MEDIA MENU will momentarily appear in the display.
3. Press OK to access the PLAY MENU.
4. Scroll repeatedly until SYSTEM SETTINGS appears in the radio
display.
5. Press OK to confirm and enter the SYSTEM SETTINGS menu.
6. Scroll repeatedly until ADVANCED appears in the radio display.
7. Press OK to confirm and enter the ADVANCED menu.
8. Scroll repeatedly until DEFAULTS appears in the radio display.
9. Press OK. The display will read RESTORE?
10. Press OK to confirm. The display will read RESTORED. SYNC will
take you back to the ADVANCED SETTINGS menu.
Performing a master reset
A master reset allows you to completely erase all information stored in
SYNC (all phone book, call history and text message information as well
as all paired devices) and return to the factory default settings.
Note: Once a mast reset has been completed, you must re-insert your
USB device to access the contents.
Note: To scroll, press
SEEKor/.
2009 SYNC/MGM (mgm)
Supplement
USA (fus)
SYNC media features
52SeeEnd User License Agreement at the end of this book
Page 61 of 90
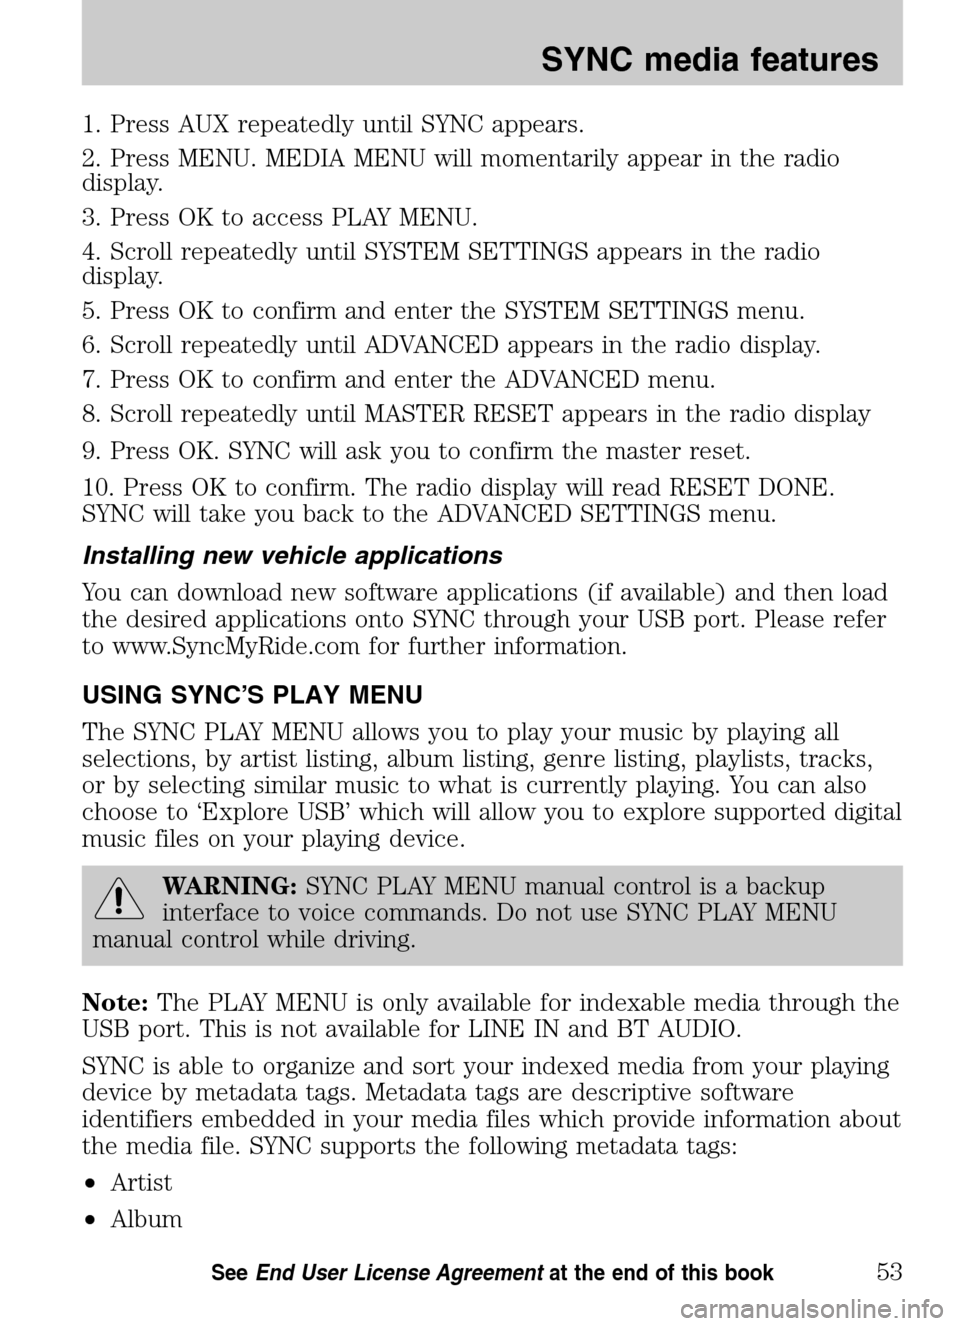
1. Press AUX repeatedly until SYNC appears.
2. Press MENU. MEDIA MENU will momentarily appear in the radio
display.
3. Press OK to access PLAY MENU.
4. Scroll repeatedly until SYSTEM SETTINGS appears in the radio
display.
5. Press OK to confirm and enter the SYSTEM SETTINGS menu.
6. Scroll repeatedly until ADVANCED appears in the radio display.
7. Press OK to confirm and enter the ADVANCED menu.
8. Scroll repeatedly until MASTER RESET appears in the radio display
9. Press OK. SYNC will ask you to confirm the master reset.
10. Press OK to confirm. The radio display will read RESET DONE.
SYNC will take you back to the ADVANCED SETTINGS menu.
Installing new vehicle applications
You can download new software applications (if available) and then load
the desired applications onto SYNC through your USB port. Please refer
to www.SyncMyRide.com for further information.
USING SYNC’S PLAY MENU
The SYNC PLAY MENU allows you to play your music by playing all
selections, by artist listing, album listing, genre listing, playlists, tracks,
or by selecting similar music to what is currently playing. You can also
choose to ‘Explore USB’ which will allow you to explore supported digital
music files on your playing device.
WARNING: SYNC PLAY MENU manual control is a backup
interface to voice commands. Do not use SYNC PLAY MENU
manual control while driving.
Note: The PLAY MENU is only available for indexable media through the
USB port. This is not available for LINE IN and BT AUDIO.
SYNC is able to organize and sort your indexed media from your playing
device by metadata tags. Metadata tags are descriptive software
identifiers embedded in your media files which provide information about
the media file. SYNC supports the following metadata tags:
• Artist
• Album
2009 SYNC/MGM (mgm)
Supplement
USA (fus)
SYNC media features
53SeeEnd User License Agreement at the end of this book